Tired of backbreaking snow shoveling? Build your own affordable and effective snow plow for your tractor bucket! This guide details two easy designs, perfect for DIY enthusiasts of all skill levels. Save money and conquer those winter drifts with pride. For even more powerful options, check out this hydraulic snow plow guide.
Design 1: The Simple Side-Board Plow (Beginner-Friendly)
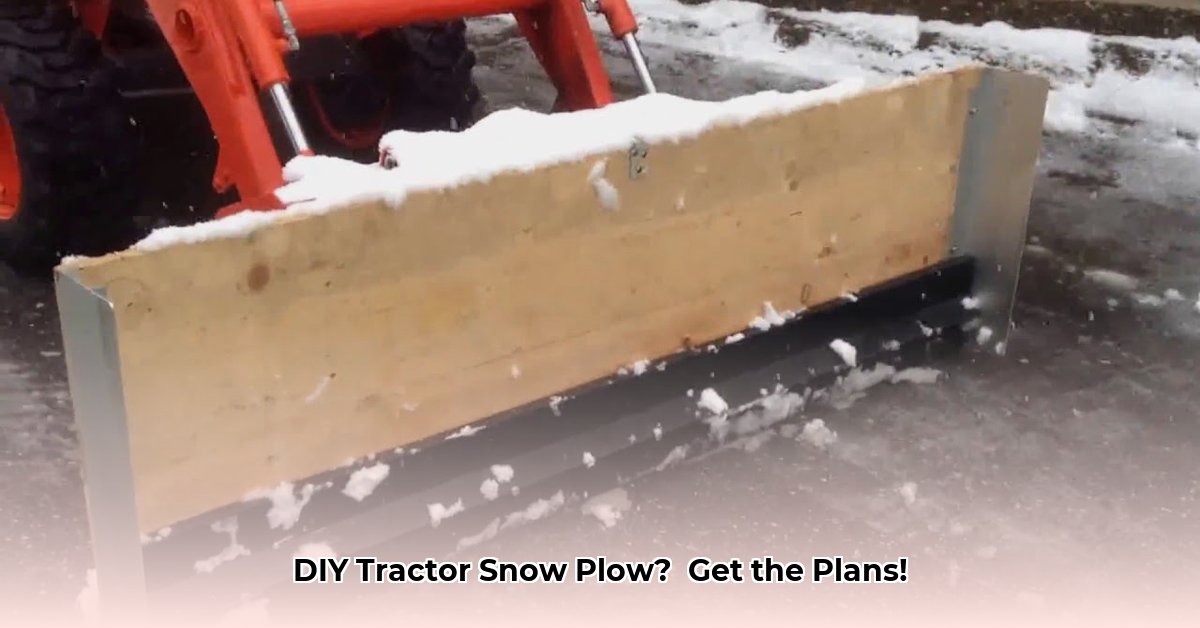
This design is ideal for first-time builders. It's straightforward, requires minimal tools, and provides effective snow removal.
Materials List
- Pressure-Treated Lumber: Two 2x6s (length determined by your tractor bucket width + 2 inches). Pressure-treated wood resists rot and warping, ensuring longer lifespan. [Link to online lumber supplier]
- Carriage Bolts: 8-10 (length dependent on wood thickness and bucket). Choose a length that provides sufficient penetration for secure attachment. [Link to online hardware supplier]
- Washers and Nuts: Matching your bolt size. Essential for secure fastening and preventing wood damage. [Link to online hardware supplier]
Tools Needed
- Measuring Tape: Accuracy is vital.
- Circular Saw or Hand Saw: For cutting the lumber to size.
- Drill and Drill Bits: Matching your bolt size; pilot holes prevent wood splitting.
- Wrench: Suitable for your bolt size; for tightening the fasteners.
- Safety Glasses and Work Gloves: Protect yourself from flying debris and splinters.
Step-by-Step Instructions
- Measure and Cut: Carefully measure your tractor bucket's width and add 2 inches. Cut two identical lengths of lumber.
- Drill Pilot Holes: Drill pilot holes at each end of both lumber pieces – this prevents the wood from splitting during bolting.
- Attach to Bucket: Position the boards against the inside of your bucket sides, ensuring even spacing. Secure them using carriage bolts, washers, and nuts. Tighten securely, but avoid over-tightening which could damage the wood.
- Test and Adjust: Attach the plow to your bucket and test the fit. Make adjustments as needed for a snug but not overly tight fit.
Design 2: The Angled Snow Deflector (Intermediate Skill)
This design offers improved snow deflection for more efficient clearing. While slightly more complex, the added efficiency is worth the extra effort.
Materials List
- Pressure-Treated Lumber: Four 2x6s (lengths determined by your bucket dimensions and desired angle. Measure carefully!). [Link to online lumber supplier]
- Carriage Bolts: 12-16 (lengths dependent on wood thickness and design). [Link to online hardware supplier]
- Washers and Nuts: Matching your bolt size. [Link to online hardware supplier]
- (Optional) Metal Angle Iron: For added strength and rigidity in the frame. [Link to online hardware supplier]
Tools Needed
Same tools as Design 1, potentially including a metal cutting saw or grinder if you opt for metal angle iron reinforcement.
Step-by-Step Instructions
- Create Frame: Construct a rectangular frame using four 2x6s. The frame should be slightly larger than your tractor bucket's opening. Secure joints with bolts, adding metal angle iron for reinforcement if desired.
- Angle the Deflector: Attach two additional 2x6s at an angle to create the snow deflector. The angle can be adjusted to your preference – steeper angles deflect snow further.
- Attach to Bucket: Securely attach the frame to your bucket using carriage bolts and washers. Ensure a snug fit for optimal snow removal.
- Test and Refine: Attach the plow to your bucket and test its functionality. Make adjustments as needed.
Safety Precautions: Always prioritize safety!
- Wear safety glasses and work gloves throughout the project.
- Ensure all bolts are tightened securely before operation.
- Operate the tractor carefully and avoid hitting obstacles.
- Inspect the plow regularly for any damage or loose components and repair/replace as needed.
Troubleshooting and Maintenance
- Warped Wood: Use pressure-treated lumber to minimize this issue. If warping occurs, replace the affected pieces.
- Loose Fasteners: Regularly check and tighten all bolts.
- Regular Inspection: Inspect the entire plow for damage after each use.
Did you know that building your own snow plow can save you over $1000 compared to purchasing a commercial model? Investing the time in your DIY project can have significant long-term savings.
Conclusion: Clear Your Driveway with Confidence!
Building your own snow plow is a rewarding project that saves money and brings satisfaction. Choose the design that aligns with your skill level and enjoy the fruits of your labor this winter! Share your success story and modifications with others in the comments below!